Since I wanted to hang my solar lights rather than have them sit on the ground, I decided to give my first set away and make some more.
I went to the local IKEA store and found these cool lights which are designed for candles.
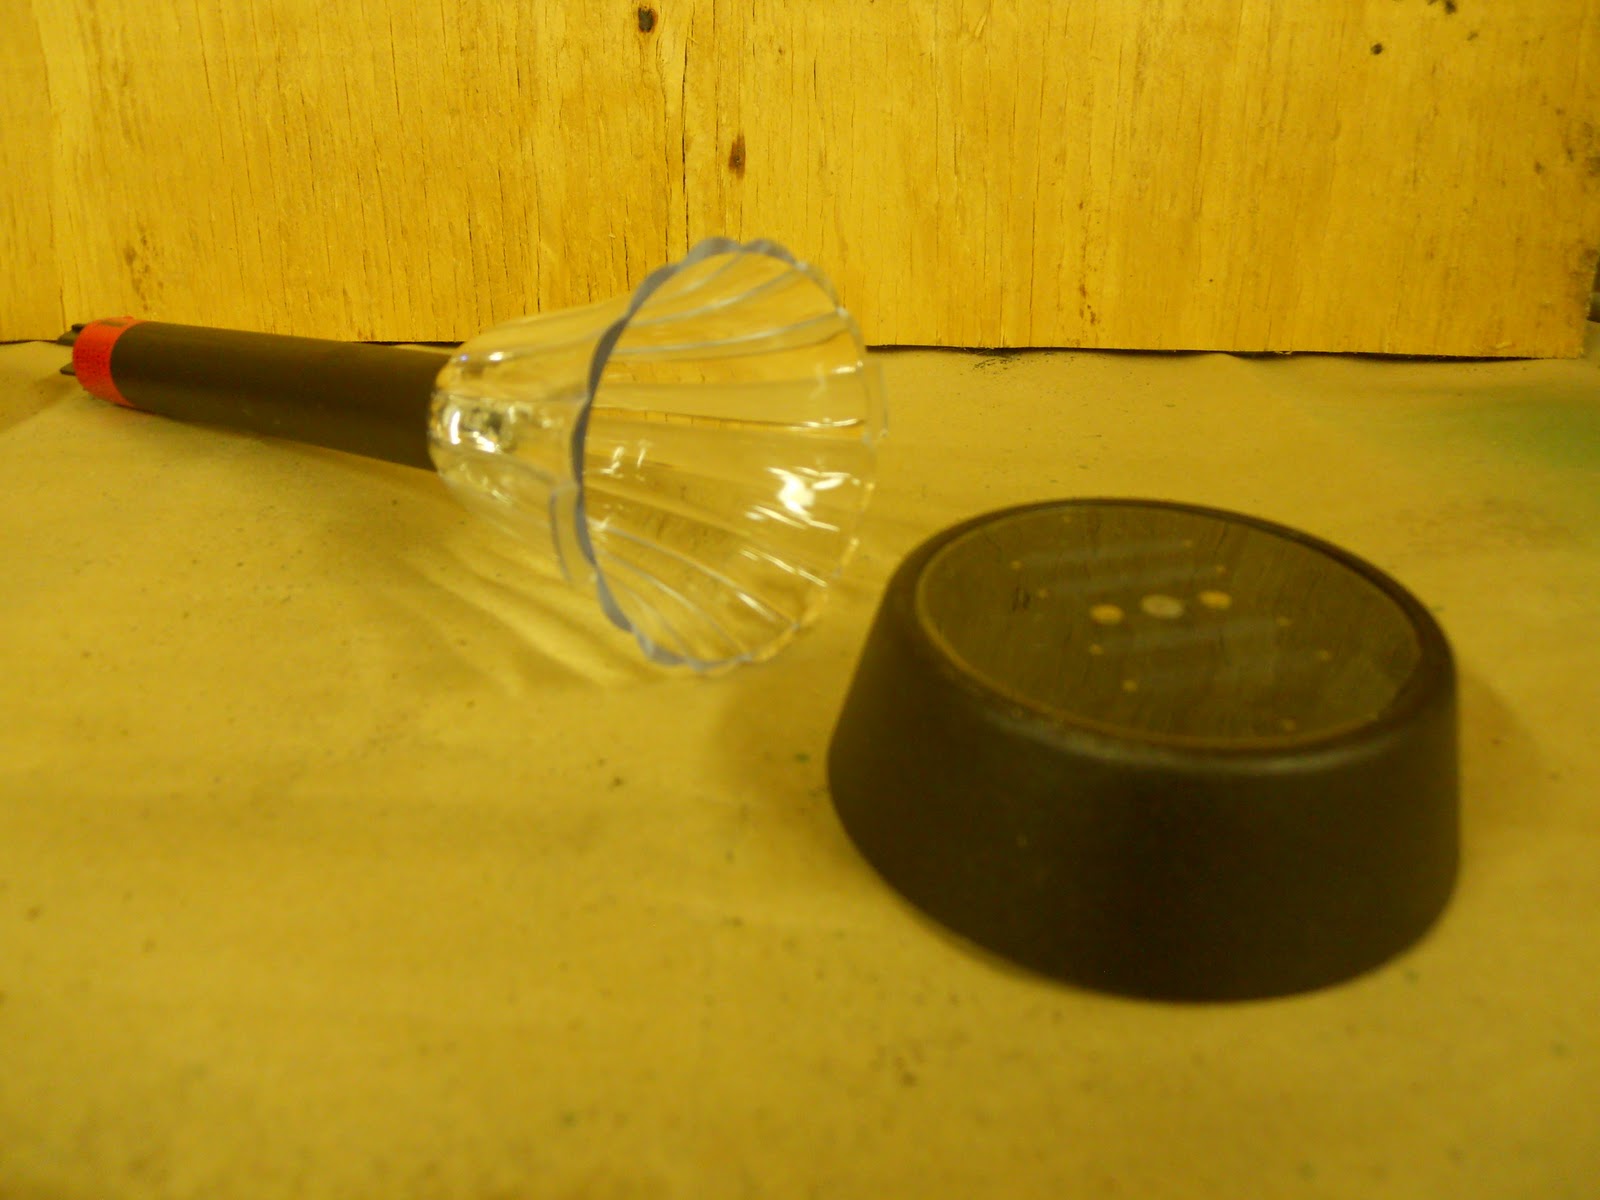
I bought the cheapest set of solar lights from Home Depot that I could find ($18 for 6) and took the solar portion off (seen on the right) and threw the remaining stand and mount away.
I discovered early on that the solar section must fit the glass exactly. Using the remains of one of my errors, I draw a circle around the solar unit to see haw far back I will need to trim.
This gives you a rough idea of how much you have to trim the sides of the solar unit down so that it will fit inside of the glass.
I then take one of the sanding drums on the flex rod of my Dremel and carve away all of the outside shell to the solar unit. It actually comes to just smaller than the outside diameter of the bottom - the piece that houses the battery and light unit.
Once the sides and top have been trimmed down to fit just inside of the glass housing you need to trim out a groove on each side of the unit. This is where I broke a couple of glass housings. There is no room for flex.
The solar unit must fit perfectly between the metal loop without flexing it at all BUT it must fit it tight enough so that it does not slide down the metal rods. It must also fit snugly inside of the glass sleeve or you get a lot of bugs in the light and then there are shadows running around inside of the lamp.
When it fits snugly and the glass housing fits over it smoothly then you mark where the solar unit fits on the rods and glue it in place using some epoxy.
The finished product looks like this. Notice the cool pattern that the glass leaves on the stones as the light shines through. These solar units are good enough to shine all night if they have gotten a good amount of sun during the day.


No comments:
Post a Comment